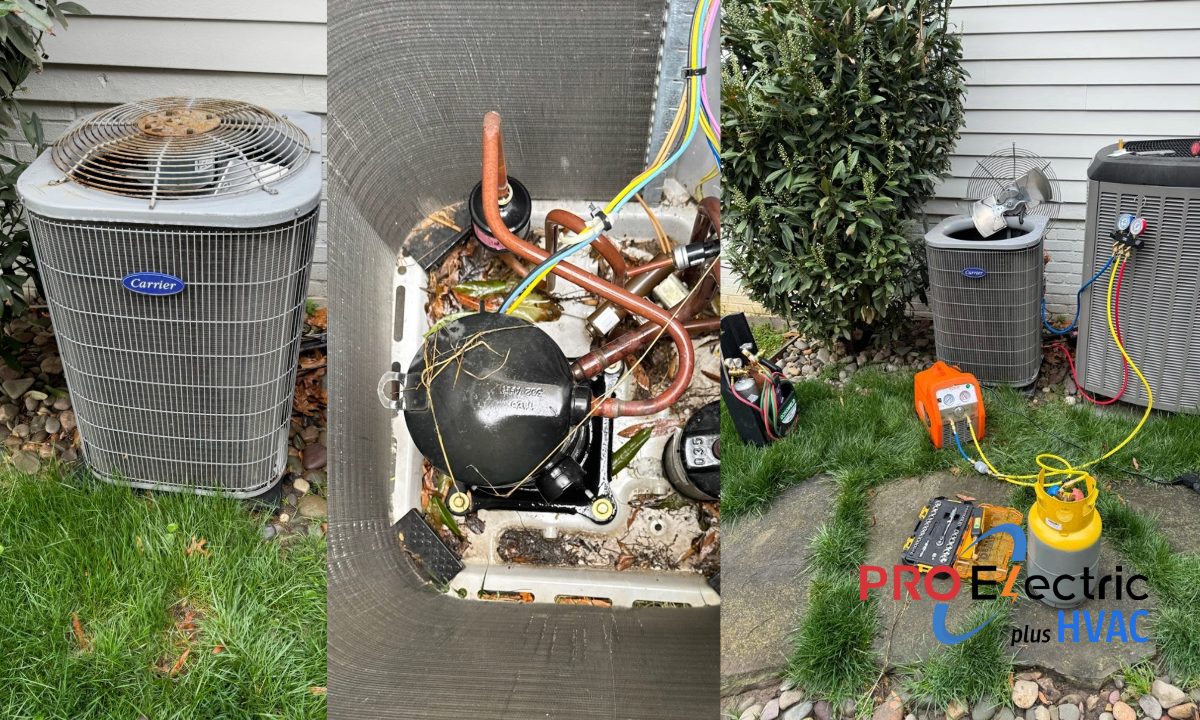
Peter and Jason from PRO Electric plus HVAC recently replaced a burned-out Carrier AC compressor with a new one in Arlington, VA.
Step by Step
Step 1
Identified the Compressor Issue
First step—we made sure it was definitely a compressor problem. This unit was making loud noises, not cooling at all, and kept tripping the breaker. Clear signs the compressor was toast.

Step 2
Powered It All Down
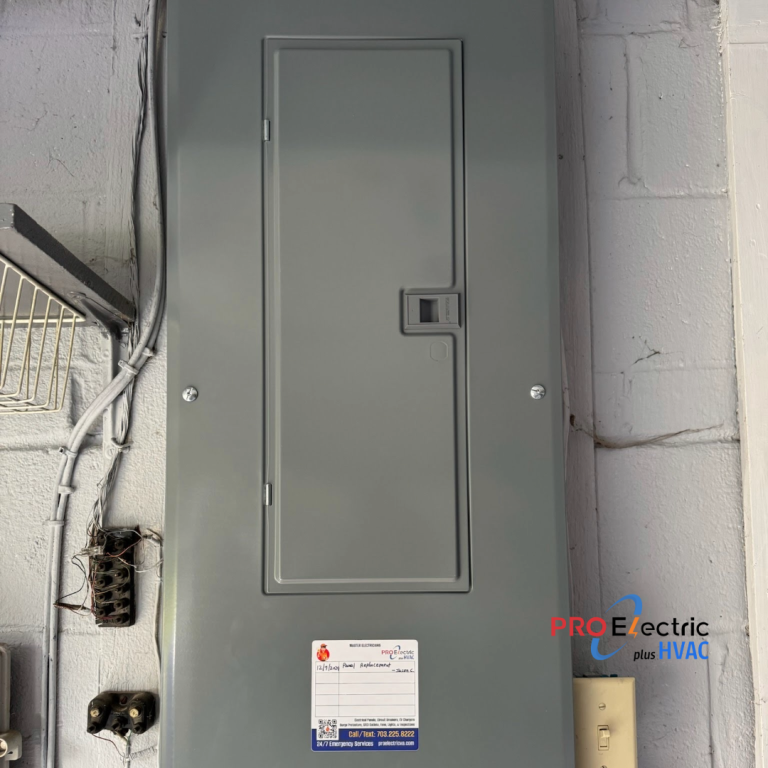
Safety’s key, so we flipped the thermostat off, cut power at the breaker panel, and double-checked with our voltage tester before we got started.
Step 3
Safely Recovered Refrigerant
Next, we connected our recovery machine and carefully sucked out all the refrigerant. It’s required by law, and we’re always careful not to vent anything into the environment.
Step 4
Disconnected Lines and Wiring
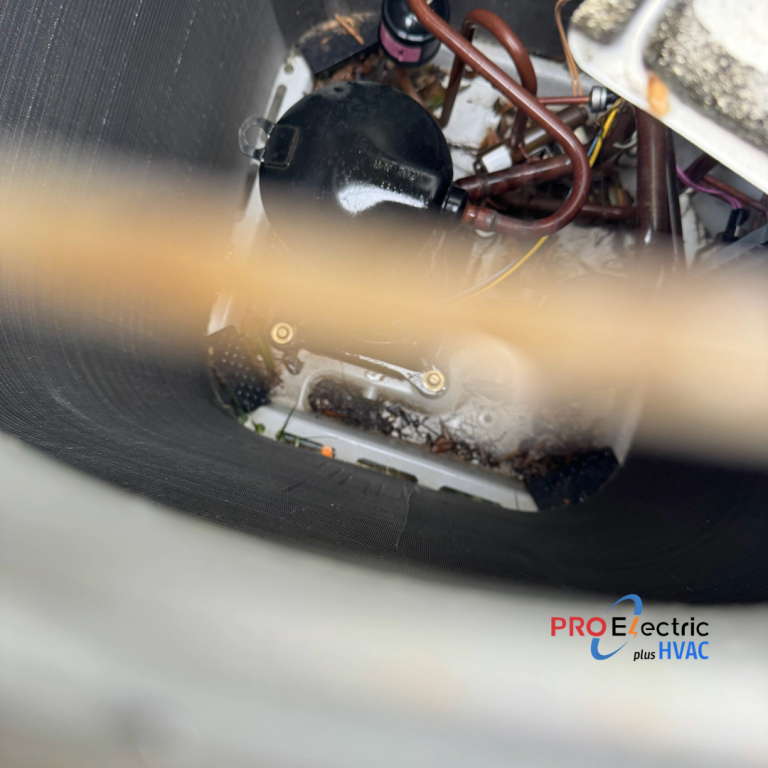
After that, we unhooked the compressor’s electrical connections and carefully disconnected the refrigerant lines. Took our time here to avoid any damage.
Step 5
Pulled Out the Old Compressor
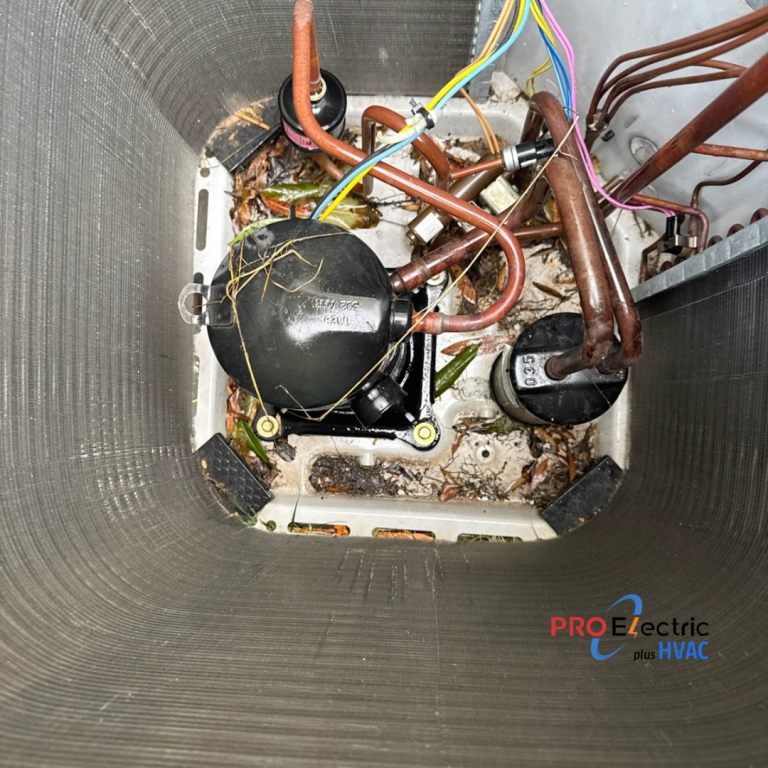
With everything disconnected, we unbolted the old compressor and got it out of the system. It was heavy and awkward, but teamwork got it done!

Step 6
Installed the New Compressor
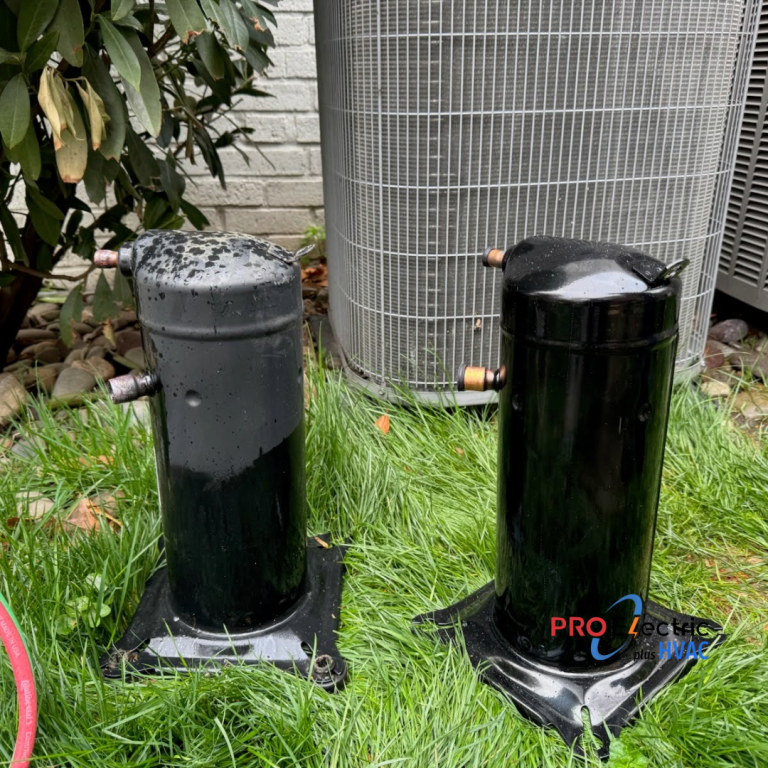
Once the old one was out, we dropped in the shiny new Carrier compressor, bolted it securely into place, and installed a fresh filter-drier to keep the system clean.
Step 7
Compressor Oil Acid Test
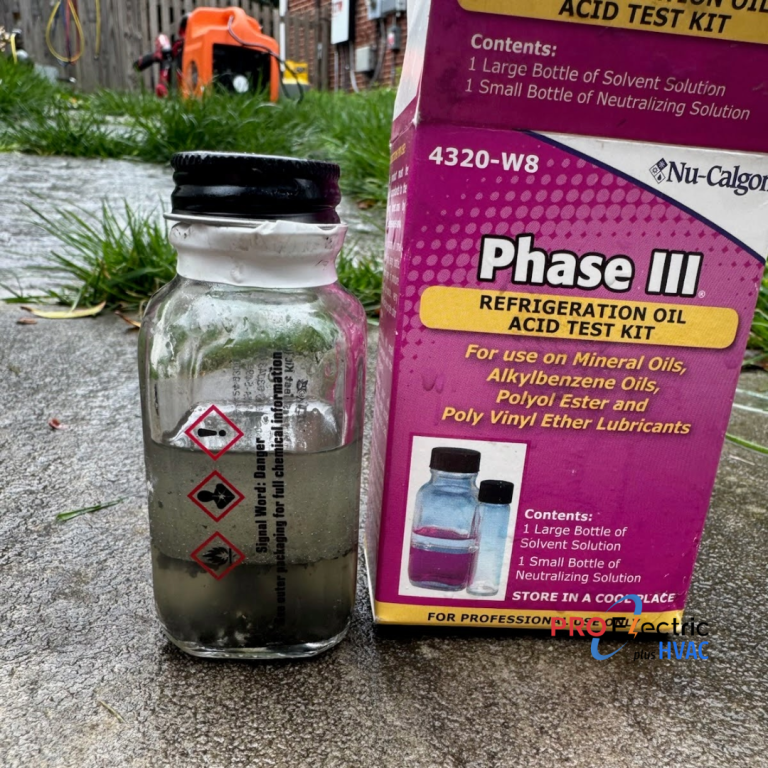
This is compressor oil acid test, because it’s a burnout compressor. We have to do acid treatment since it’s acidic
Step 8
Recharged Refrigerant to Specs
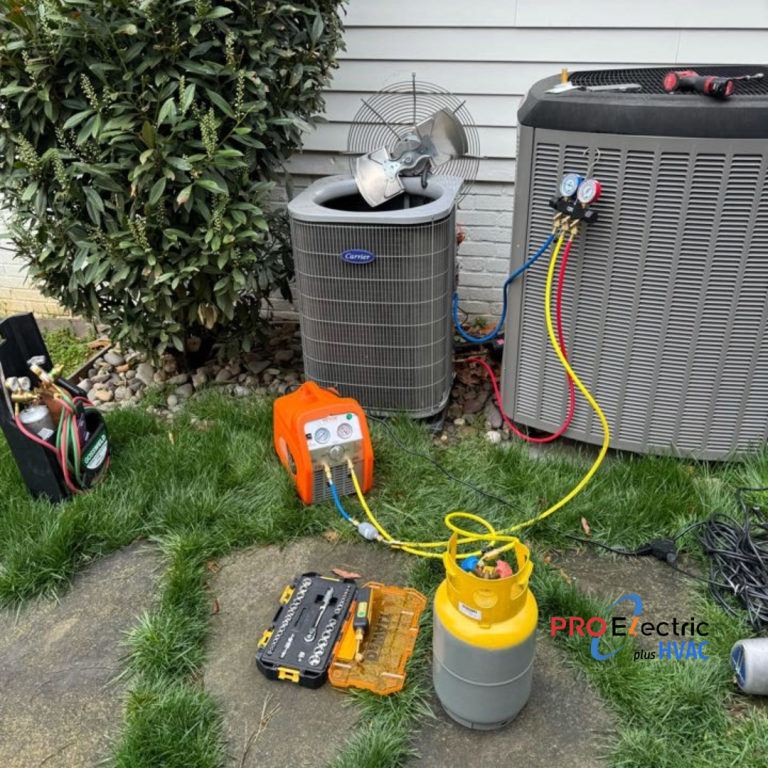
Then we carefully charged up the system with refrigerant, matching Carrier’s specs precisely. We monitored pressure levels and made sure everything looked perfect.
Step 9
Hooked Everything Back Up and Tested
We reconnected all electrical wiring, flipped the power back on, and tested the AC thoroughly. We verified cooling temperatures, air flow, pressures, and checked that the compressor was running quietly and efficiently.
Peter and Jason wrapped everything up cleanly, leaving a happy homeowner with cool air.

