SIMPLE - STESS FREE - DONE RIGHT HVAC Replacement Process
Our Replacement Processes
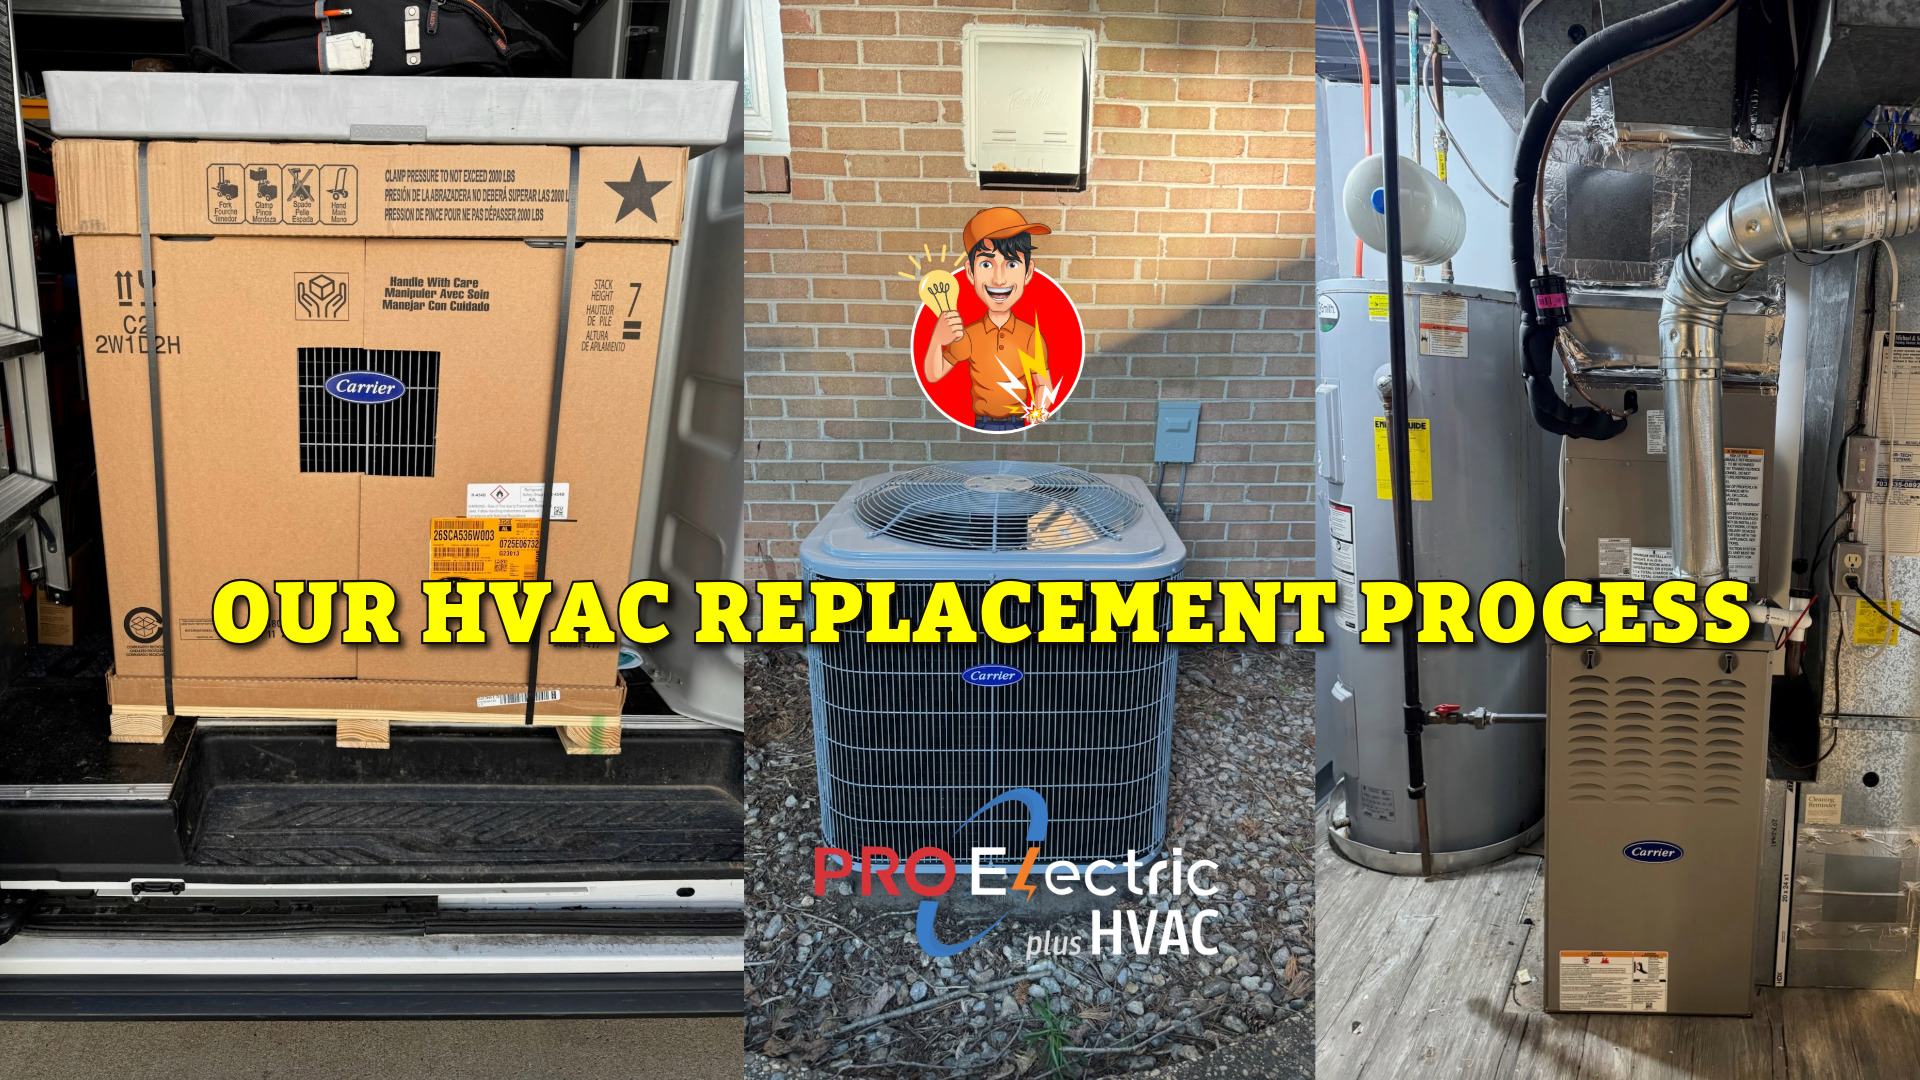
At PRO Electric plus HVAC, we make HVAC system replacements simple, stress-free, and done right the first time. Whether you're swapping out an old AC, upgrading your furnace, or going all-in with a high-efficiency heat pump, we’ve got the experience to handle it all—start to finish. We take care of the permits, the heavy lifting, and all the behind-the-scenes details so your home stays comfortable year-round. No guesswork. No cut corners. Just quality installs backed by real pros who actually show up when they say they will.
1
Central AC System
Central AC System Replacement Process
1. Initial Assessment
- Inspect existing AC system:
- Outdoor condenser
- Indoor evaporator coil and air handler or furnace
- Identify problems: low cooling, coil leaks, compressor failure, outdated R-22 refrigerant
- Evaluate:
- Age and efficiency of system
- Ductwork condition
- Line set, drain line, and electrical setup
- Compatibility with thermostat
2. System Selection & Sizing
- Perform Manual J load calculation to determine correct BTU size
- Choose:
- Matched indoor coil and outdoor condenser
- SEER2 efficiency rating (14.3+ for new installs)
- Single-stage, two-stage, or variable-speed
- Match to existing or upgraded air handler or furnace
- Ensure refrigerant type (typically R-410A or R-454B)
3. Permits & Planning
- Pull mechanical and electrical permits as required
- Plan:
- Condenser placement (pad, clearance, drainage)
- Line set route (reuse or replace)
- Condensate drain connection
- Electrical disconnect and breaker check
4. AC System Removal
- Recover refrigerant (EPA-compliant process)
- Disconnect and remove:
- Outdoor condenser unit
- Indoor evaporator coil
- Old line set if needed
- Thermostat (if being replaced)
5. AC Installation
Indoor Coil:
- Install new coil (cased or uncased)
- Mount to existing air handler or furnace
- Connect to drain line, plenum, and ductwork
Outdoor Unit:
- Install new condenser on a level pad
- Run or replace line set (properly insulated)
- Install electrical disconnect and whip
- Connect to system ground
6. Charging & Testing
- Pressure test lines with nitrogen
- Pull vacuum to remove air/moisture
- Charge system with refrigerant to spec (weigh-in or subcooling method)
- Check for leaks and correct refrigerant charge
7. Thermostat & Controls
- Install or program thermostat
- Test AC start-up, cooling cycle, and fan modes
- Confirm temperature split (typically 18–22°F)
8. Commissioning & Cleanup
- Verify:
- System operation (cooling, airflow)
- Electrical readings
- Static pressure and CFM (if needed)
- Educate homeowner on:
- Filter changes
- Thermostat use
- Maintenance schedule
- Register warranty
- Clean job site, remove debris and old equipment
2
Central AC and Furnace System
Central AC and Furnace System Replacement Process
1. Initial Assessment
-
Inspect existing:
- Outdoor AC condenser
- Indoor gas furnace and evaporator coil
-
Identify issues (compressor failure, cracked heat exchanger, coil leaks)
-
Check:
- System age and performance
- Refrigerant type (R-22 vs. R-410A/R-454B)
- Duct condition and airflow
- Thermostat compatibility
- Electrical, gas line, flue, and drain line condition
2. System Selection & Sizing
-
Perform Manual J load calculation for correct BTU size
-
Choose matched equipment:
- SEER2-rated AC condenser
- AFUE-rated gas furnace (80%, 90%, or higher)
- Compatible evaporator coil (cased/uncased)
- Furnace type: single-stage, two-stage, or modulating
- AC: single-, two-stage, or variable-speed
- Confirm blower motor matches airflow needs
3. Permits & Planning
-
Pull mechanical, gas, and electrical permits
-
Plan for:
- Gas shutoff and reconnection
- Flue replacement (especially if upgrading from 80% to 90%+)
- Drain line routing
- Line set and refrigerant routing
- Condenser pad location and electrical disconnect
4. System Removal
-
Recover refrigerant from AC system
-
Disconnect and remove:
- Outdoor condenser
- Indoor furnace
- Evaporator coil
- Thermostat (if replacing)
-
Disconnect electrical, gas line, and flue pipe
5. Installation
Furnace & Coil:
- Install new gas furnace and evaporator coil
- Reconnect supply and return ducts (seal and insulate as needed)
- Run new flue pipe (PVC or metal depending on furnace efficiency)
- Reconnect gas line and install drip leg
- Reconnect condensate drain
Condenser:
- Set new condenser on level pad
- Run new line set or reuse if in good condition
- Install new electrical whip and disconnect
- Ensure correct refrigerant type and pressure test lines
6. Charging & System Test
- Pressure test with nitrogen
- Pull vacuum to 500 microns or lower
- Charge with factory refrigerant or weigh in additional as needed
Confirm:
- Superheat/subcooling
- Proper gas pressure and flame
- Temperature split (18–22°F)
- CO levels (if required)
7. Thermostat & Controls
- Install or rewire thermostat
- Program heating and cooling schedules
- Verify stage controls, fan speeds, and safety features
8. Commissioning & Final Inspection
- Test:
- Cooling operation and airflow
- Heating cycle ignition and blower response
- Limit switches, safeties, flame sensor
-
Educate homeowner on:
- Filter changes
- Thermostat programming
- Furnace maintenance (annual check recommended)
-
Register warranties and provide all documentation
-
Clean up worksite and schedule final code inspection (if required)
3
Heat Pump System
Heat Pump System Replacement Process
1. Initial Assessment
- Inspect existing heat pump system:
- Outdoor unit (compressor, coil, fan)
- Indoor unit (air handler or furnace with coil)
- Identify:
- Heat pump type (air-source, cold-climate, dual fuel)
- Backup heat source (electric strips, gas furnace)
- Issues (compressor failure, refrigerant leak, inefficient performance)
- Evaluate:
- Ductwork condition and airflow
- Line set routing
- Electrical setup and breaker size
- Thermostat compatibility (especially for multi-stage or inverter systems)
2. System Selection & Sizing
- Perform load calculation (Manual J)
- Choose:
- Matched indoor and outdoor units (same brand or AHRI-rated pair)
- System capacity (BTU/hr)
- SEER2, HSPF2, EER2 ratings
- Single-stage, two-stage, or variable-speed compressor
- Decide on backup heat strategy:
- Electric resistance strips
- Dual fuel (heat pump + gas furnace)
3. Permitting & Planning
- Obtain required mechanical and electrical permits
- Plan:
- Outdoor unit placement (ground pad, wall bracket)
- Indoor air handler or coil fitment
- Drain line routing and overflow protection
- Electrical disconnect and wiring upgrade (if needed)
- Thermostat location and wiring
4. System Removal
- Safely recover refrigerant (EPA compliant)
- Disconnect:
- Outdoor heat pump unit
- Line sets and electrical connections
- Indoor air handler or coil
- Thermostat (if replacing)
- Remove and dispose of all components
5. Installation
Indoor Unit (Air Handler or Furnace + Coil):
-
- Mount new air handler or coil
- Connect to supply/return ducts
- Install or upgrade auxiliary heat strips if needed
- Install float switch or drain sensor
- Connect drain line (with proper slope)
Outdoor Heat Pump Unit:
- Set outdoor unit on level pad or wall mount
- Run or replace refrigerant line set (insulated)
- Connect electrical whip and disconnect box
- Ground system to code
6. Refrigerant Charging
- Pressure test system with nitrogen
- Pull deep vacuum (500 microns or lower)
- Charge system:
- Factory pre-charge (check line length limits)
- Weigh in additional refrigerant if needed
- Verify superheat/subcooling targets
7. Thermostat & Controls Setup
- Install compatible thermostat (multi-stage or smart)
- Program:
- Heat/cool schedule
- Emergency heat settings
- Backup heat lockout (for dual fuel)
- Connect Wi-Fi (if smart model)
8. Commissioning & System Test
- Test:
- Heating mode (both stages if applicable)
- Cooling mode
- Defrost cycle functionality
- Emergency/aux heat activation
- Check:
- Temperature rise and split
- Airflow (CFM) and static pressure
- Electrical amp draw
- Balance airflow if duct zones exist
9. Final Inspection & Customer Handoff
- Schedule and pass local inspection
- Register warranty online (manufacturer requirement)
- Explain:
- Filter replacement schedule
- Thermostat controls
- Backup heat usage
- Defrost sounds/cycles
- Provide paperwork, manuals, and rebate forms
- Clean up job site
4
Mini-Split System
Mini-Split System Replacement Process
1. Initial Assessment
- Inspect current mini-split system (indoor and outdoor units)
- Evaluate:
- Age and condition
- Number of zones/heads
- Existing refrigerant lines, drain lines, and electrical
- System capacity vs. current needs
- Identify failure causes (compressor, board, fan motor, etc.)
- Check for upgrade opportunities (SEER, inverter tech, smart controls)
2. System Selection & Sizing
- Match or upgrade BTU capacity per room/zone
- Select compatible outdoor unit + desired number/type of indoor units:
- Wall-mounted
- Ceiling cassette
- Floor console
- Decide on single-zone vs. multi-zone
- Choose efficiency tier (SEER, HSPF) and brand
3. Job Planning & Permits
- Pull required electrical and mechanical permits
- Plan:
- Location of new indoor units
- Condensate drain routing
- Line set path
- Outdoor unit placement (slab, wall bracket, or pad)
- Electrical circuit requirements (disconnect, breaker size, wire gauge)
4. System Removal
- Safely recover refrigerant from old system (EPA-compliant)
- Disconnect electrical and refrigerant lines
- Remove and dispose of old indoor and outdoor units
- Remove old line sets if not reusable
5. Installation
Indoor Units:
- Mount new indoor heads or ceiling/floor units
- Connect new or existing line sets, drain lines, and communication wiring
Outdoor Unit:
- Place unit on level slab or mount on wall bracket
- Connect refrigerant lines, electrical whip, and disconnect
- Pressure test the system with nitrogen for leaks
6. Vacuum & Charging
- Pull vacuum on refrigerant lines to remove moisture/air
- Verify vacuum holds (no leaks)
- Release refrigerant from outdoor unit (or weigh in charge if required)
- Balance zones if multi-head system
7. Startup & Commissioning
- Power on system
- Test each zone/head for:
- Cooling/heating function
- Fan operation
- Drain line flow
- Program remote or smart thermostat
- Educate homeowner on filter cleaning, modes, and maintenance
8. Final Inspection & Cleanup
- Schedule inspection if required by local code
- Seal wall penetrations and insulate line sets
- Clean up job site
- Provide invoice, warranty documentation, and rebate forms if applicable
SATISFIED CUSTOMERSTestimonials
SERVICING FAIRFAX, ARLINGTON, LOUDOUN, & PRINCE WILLIAM COUNTIESGet Your Electrical or HVAC Quote Before Day’s End!
Be Sure To Tell Us You Are Active Duty or a Veteran! Save 10% on all Electrical & heating and cooling system replacement services—up to $500 off your total!
FAIRFAX, ARLINGTON, LOUDOUN, & PRINCE WILLIAM COUNTIESElectrical & HVAC Service Areas
Electrical Service Areas
HVAC Service Areas
