
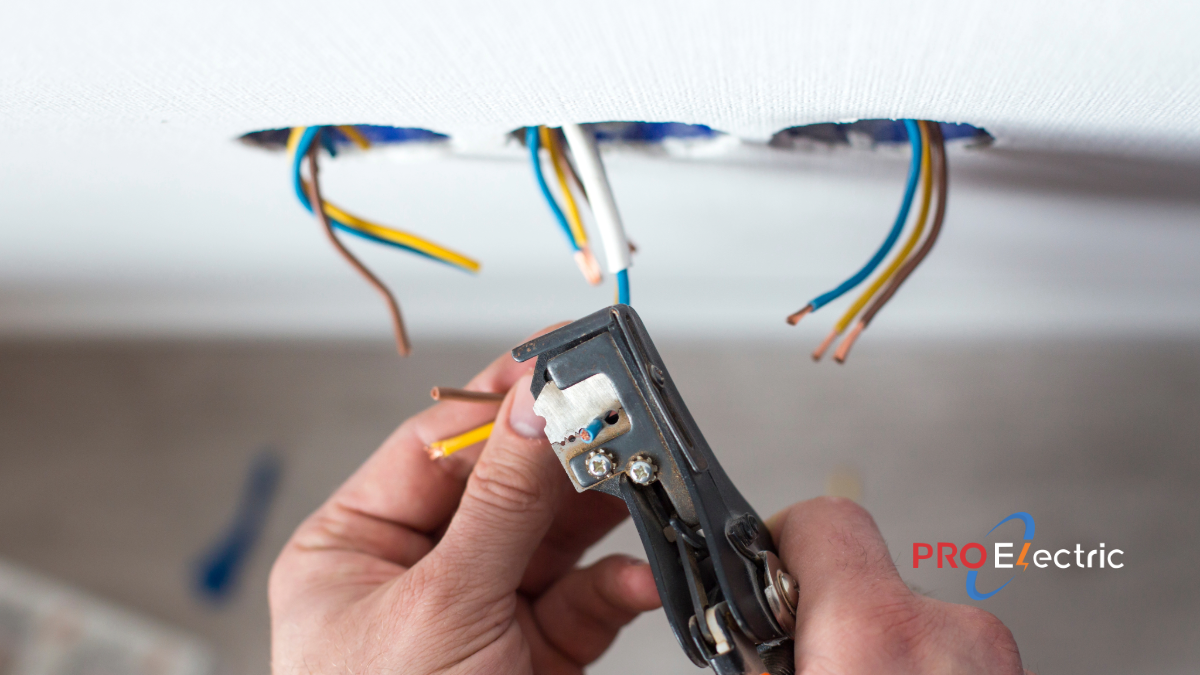
Replacing old wiring in a home is a big job.
It involves many steps, each important for safety and proper home operation.
Here’s a breakdown of our 10-step home rewiring process.
10 Steps
Step 1:
Initial Electrical Inspection
- An electrician inspects the current wiring.
- They check for any immediate dangers.
- They decide what needs to be replaced.
Step 2:
Power Shut-Off
- The power to the house is turned off.
- This keeps everyone safe during the work.
Step 3:
Removing Old Wiring
- Electricians remove old, outdated wiring.
- This includes any knob-and-tube or aluminum wiring.
- They may need to remove parts of walls or ceilings.
Step 4:
Installing New Wiring
- New, up-to-date wiring is installed.
- Electricians run new wires throughout the home.
- The new wiring meets modern electrical codes.
Step 5:
Upgrading the Electrical Panel
- If needed, the electrical panel is replaced.
- A new panel can handle the home’s current electrical needs.
Step 6:
Installing New Outlets and Switches
- Electricians replace old outlets and switches.
- They may add more outlets to meet modern needs.
Step 7:
Testing and Inspection
- Electricians test the new wiring to make sure it works.
- They check for safety issues.
- The system is inspected to meet local codes.
Step 8:
Repairing Walls and Ceilings
- Once the wiring is complete, any damaged walls or ceilings are repaired.
- The home is put back together after the work.
Step 9:
Turning the Power Back On
- The power is turned back on after the work is finished.
- Electricians do a final check to make sure everything works.
Step 10:
Benefits of New Wiring
- The home is safer with up-to-date wiring.
- The electrical system can handle modern appliances.
- The home’s value may increase with the upgrade.
Replacing old wiring in an older home takes time and effort.
It’s a big job, but it’s necessary for safety and proper function.
Working with a licensed electrician ensures the job is done right.